Simple & Delicious White Sandwich Bread
- Jessie Alice Smith

- May 22, 2020
- 3 min read
Updated: Nov 17, 2021
Yields 2 loaves. Start to finish takes about 2 hours with rising times.

I stopped buying white sandwich bread from the store about a year ago. My brother told me a horror story about how most sandwich bread in the grocery stores contains an ingredient also used to make yoga mats. Is it true? I honestly don't know, but the mere thought was enough to put me off store-bought bread ever since.
But really, all yoga mat ingredient possibilities aside, there is NOTHING quite like homemade bread. I know it can seem daunting at first, but homemade bread is leaps and bounds more delicious than store-bought.
Most importantly, the process of baking bread is incredibly satisfying. You will soon see what I mean. Enjoy the process, don't stress out if it isn't perfect. Don't have bread flour? Who cares! Just use all-purpose. You'd rather use honey instead of sugar? Do it! I have and it's delicious. The recipe is only a guideline... don't be afraid to get creative.
***Disclaimer: All of my recipes are made at high altitude, you may need to make adjustments for lower altitudes.***
Ingredients:
1 1/2 tbs active dry yeast
1 tbs sugar
2 c warm water
1/4 c melted unsalted butter or vegetable oil
2 tsp kosher salt
2 tbs milk
3 tbs sugar
5-6 c bread flour (all-purpose will work fine, your bread just won't turn out as chewy)
Directions:
In a mixing bowl with the dough hook attachment, add; yeast, 1 tbs sugar, and water. Stir, let sit for 5 minutes.
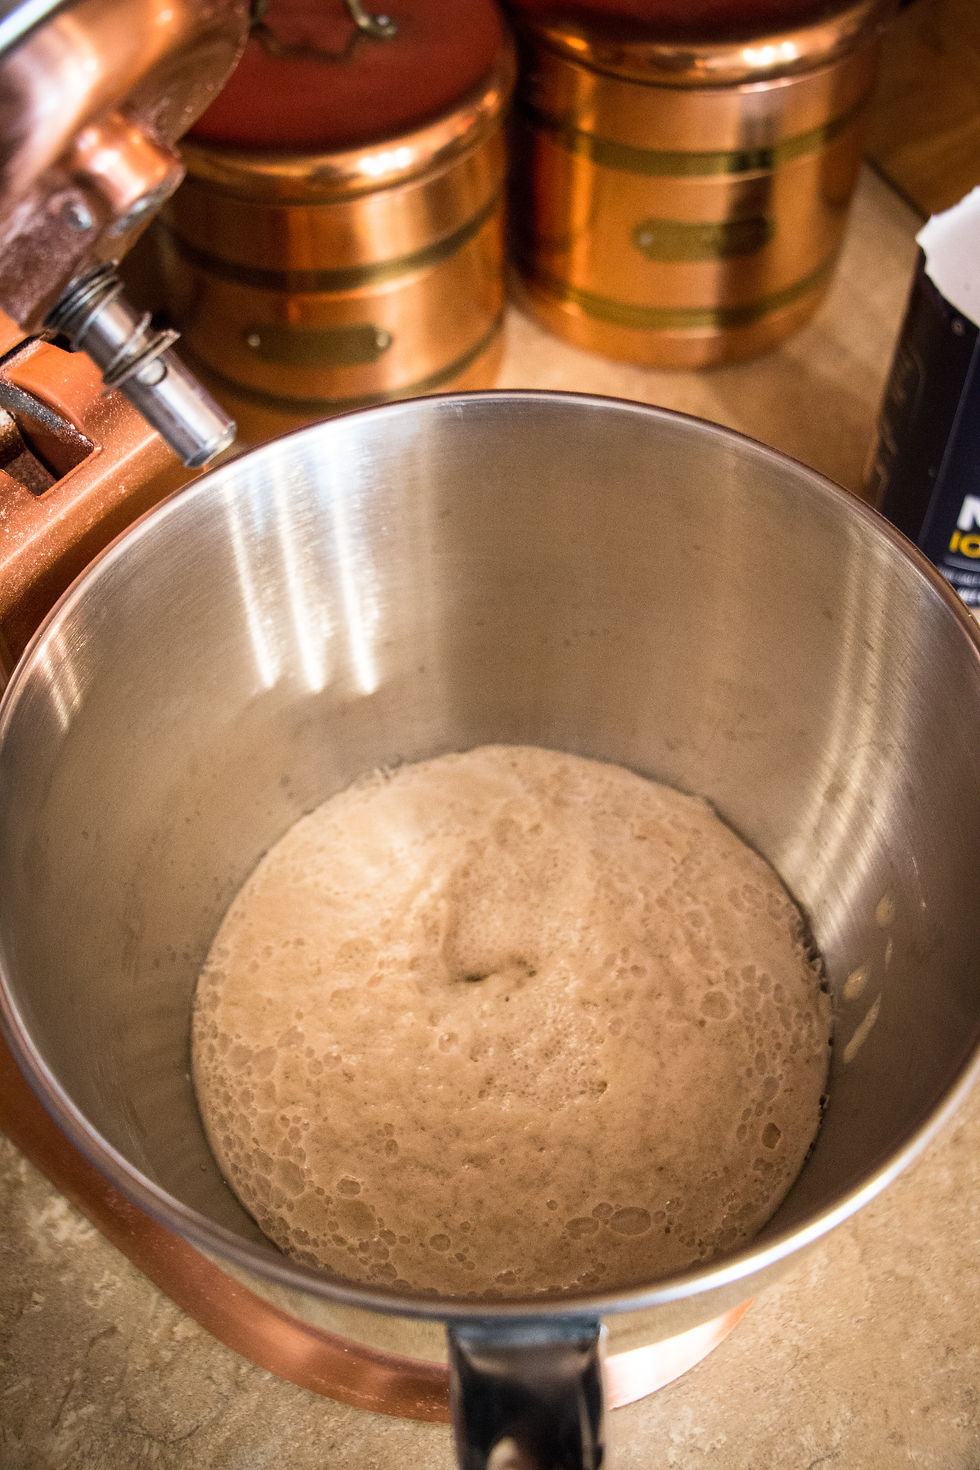
Once a bubbly foam has formed on top, add; butter, salt, milk, 3 tbs sugar, then mix.
Add 3 cups of flour to start with, mix, then add 1 cup at a time until you reach 5-6 cups or until the dough ball is pulling away from the sides of the bowl.
On the medium to low setting, let your mixer knead the dough for 5 to 6 minutes (or do this by hand if you don't have a mixer).
Remove bowl from the mixer. Cover with a towel and sit in a warm area to rise for an hour or until the dough ball has doubled in size.
Once doubled, punch down the dough and turn it out onto a floured surface. I use a silicon spatula to scrape it out of the bowl.
Knead by hand for 2 or 3 more minutes and form a ball.

Using a bench scraper (or anything you can cut with) cut the ball in half. Just eyeball it as best you can, no pressure.
Place each half into a sprayed loaf pan, tuck the ends under to form a loaf shape.
Re-cover with your towel and let rise again until doubled in size.

Preheat oven to 350°
Uncover and bake on the center rack in your oven for about 25 - 27 minutes. The tops should be nicely browned and when you tap the top of the loaf it should sound hollow.
Remove from oven, place on a cooling rack... DEVOUR!


I make these loaves about every other week and I freeze one after baking.
Lastly, I usually store my loaf in the fridge because we eat it pretty slowly and since it isn't pumped full of preservatives, it will do what bread should do after about a week in warm air... MOLD! So unless you're going to eat it within a few days (no judgment if you do) keep it in your fridge.
I hope you enjoy your bread making experience, Friends!
Take care & stay well.
All photography by Jessie Alice Smith


Comments